Mods to a Record T5, with Lie nielsen Blade

I've decided at long last modify all my Stanley Bailey planes, I'm upgrading them with Lie Nielsen blades and this time I'm also replacing the old  Stanley chip breakers with the new thicker Lie Nielsen chip breakers.

I did do an earlier upgrade on a Stanley Bailey No 5 the post found here in my blog which I will supply a link to a little later, I did not at that time upgrade the chip breaker to the No 5, that one will also be included in these upgrades, to that plane there will be an alteration that I did to the sideways lateral movement that I'm not happy with, it didn't work quite as I had hoped so that modification will be removed from the plane and another y  lever fitted to accommodate the extra thickness with a new  Lie Nielsen chip breaker being fitted.

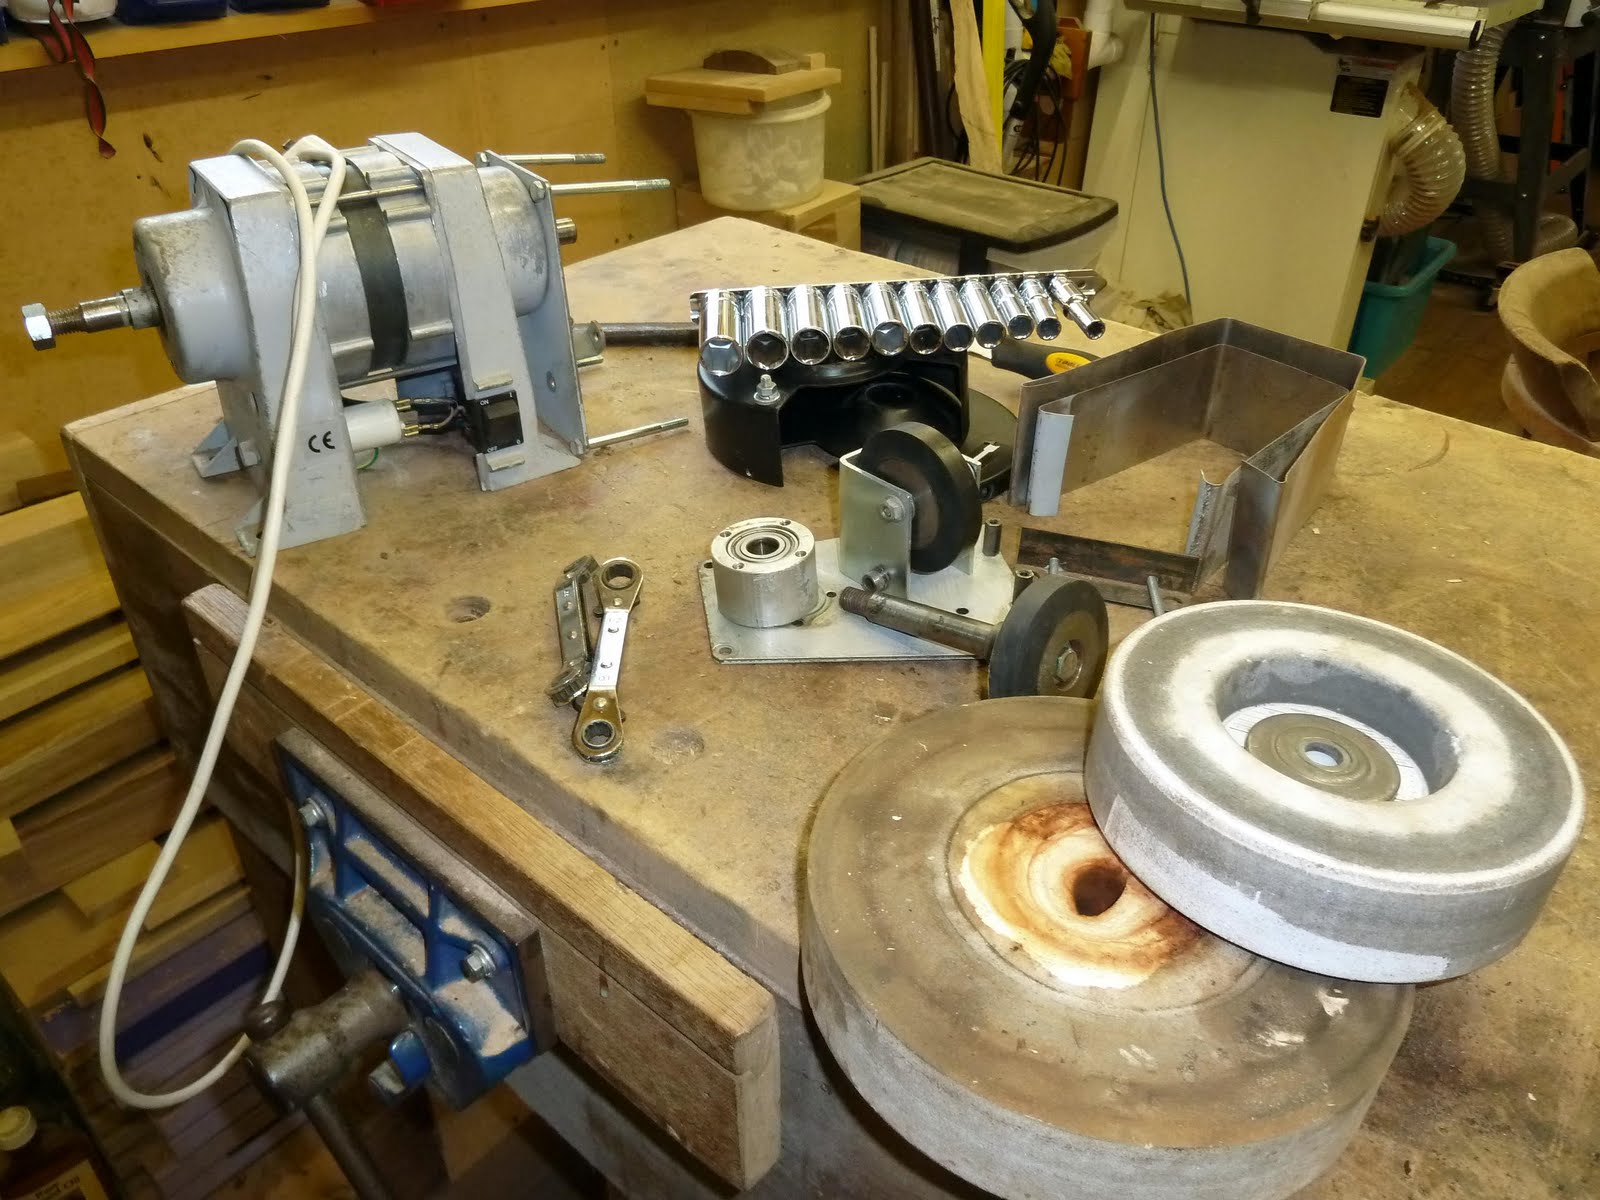
Lucky for me as seen here to save a lot of time I already have some spare y lever that I previously lengthened when I did the original  Stanley upgrade.

The y lever was fitted into a spare frog from an old Stanley No 5  that's among my spare parts so it was easily removed by tapping out the securing pin then doing the same to frog on the T5 and then refitting the frog into the T5.


Above showing the record y lever before removal after fitting and a comparison with a second T5 showing the difference in the two lengths to cope with the new Lie Nielsen blade and chip breaker.

Next comes the alteration to the mouth of the plane body to allow the extra thick blade to slip through the body to be able to plane timber.

Shown here partly altered,  I filed out the mouth to allow the blade to just slide through it  for now,  the blade as yet unsharpened.


The mouth showing daylight, after the blade is sharpened this may still require a final adjustment.


  The blade just showing through the sole as yet still unsharpened.

Finally, the blade and chip breaker fitted,  the first of many planes still to do, the next one will be to do the alterations on the No 5  after that next to the No 3  But still have to order the blade and chip breaker for that one.

I still have to sharpen the blade an do the complete refurbishment of this plane but as you have already guessed those will be other posts. 

Plane blade now sharpened grind angle 25 degrees Scary sharpened 30 degrees, shaving in my palm are from the end grain and in the micrometre, down the edge curly shaving from the same piece of oak now set to take shaving at 0.01mm, I'm chuffed.


ENJOY. Martin

Pillar drill adjustable floor stand

Seen here with adjustable machine feet from Axminster bolted through 25mm MDF  with the four securing bolt poking through all adjusted and level in both directions, and then screwed down through with 4" * 12  screws into the floorboards and joists.


My new drill arrived on time as Axminster had promised then delivery here five days later, and went back the following week, changed with no problem at all, the second one arrived Saturday morning, all assemble today. Then I set about making this adjustable stand to bolt it to the workshop floor  I made it adjustable to allow for any floor settlement, it now mounted and secured.  My advice to anyone owning a floor standing drill, secure it, they can easily be toppled over.


creusen bench grinder

This old bench grinder a Creusen NS 5215T: I have had now for more years than  I can remember, bought from Axminster tools in Axminster when they were in there original shop in the high street. Its never hand a great deal of use most of its use was in my jobbing days where it was set-up in the back of my van. Since I retired it's hardly seen any use at all, in fact, the right-hand wheel which is the water stone had seized up with rust from lack of use.

I have managed to free up the spindle so at least both wheels are now turning, Thought it's about time this machine had a complete strip apart and complete rebuild before I bring it into workshop use as I remember it was not a cheap grinder, seen here before work starts.


The above Photos show the grinder before during and after stripping, with one knackered wheel.

Below Shows grinder,  stripped gearbox reassembled temporarily + part awaiting  reassembly and paint


I have now been trying to source a new aluminium oxide wheel of 200mm x  40mm  with a bore of 15mm  with a grit of 220. after a lot of searching and questions I didn't find many that were  40mm wide and all had a  different bore size which in turn meant either use a spacer to make up the difference on the spindle or have the spindle turned down in size to fit the smaller bore, but more surprisingly the cost of the wheel varied from £62- £82  wow. On the cheaper end of the market, you can buy the entire machine for under £40 complete with wheels.

I have now been forced to rethink this refurbishment entirely, however, I have placed a  bid on a  Dakota wet stone grinder on e-bay, I still have a few options left open here but lets Waite see how that goes.

Well, I've had the  Dakota wet grinder know for some time,  I am very disappointed with it not what I expected at all,  Just not my idea of a wet grinder.

So back to my Ceusen time now to source another wet stone for that instead.


Here it is freshly painted, now awaiting a new wet wheel. I have decided to do away with the original grinding jigs it came with to much flex in them to hold the plane blade square to the grinding wheels, so have just ordered some new ones, but that another thread.

Finally, it's taken me over a year to track down this wheel,  while on holiday here in Holland with my daughter  I mentioned to Edwin her partner that I was still looking for my water-stone he very kindly rang Cruesen, I had told him  I had rung Creusen a year earlier only to be told sorry sir there obsolete, he rang them and was told certainly sir we have them in stock, Grrrrr,  but a very good price 37.50 euros it arrived yesterday,  they also supplied an address in England who I have also contacted, I have now placed an order for a second stone as well.

When I get it home fit it dress it off to get it true balance and then start to build all the new different grinding jigs around it, but as  I said that's another thread.


There it is fitted, awaiting some more jigs for completion, but as you have already guessed that another post. enjoy.


Martin

chute shoot shooting- board mk1

Hi guys, spent the afternoon knocking up this. I have never used one nor owned one either, built it primarily to help with the sliding trays that will be built into my drawers on the new tool cabinet, so thought just in case I don't like using it just a quicky to start with, maybe build a better one later, seemed a bit strange to start off with the need to practice a bit with this just to get the hang of it. just wondering those of you who have them and use them what sort do you have? and did any of you make any alteration to yours as you went along?


Well here goes mk2.

MK1  scrapped well not entirely the overhang of 1/8 "  has been removed and an Oak edging strip glued in it place, an oak 10mm  running strip was also glued on late last night, this morning set the  T5  and remove a few shaving to form the running edge then squared up the fence and screwed it on permanently.  last but not least,  using scotch tap glued onto the edge of the fence a strip of sandpaper to add that extra grip to the edge of the workpieces.


Well so far so good, I just spent a lot of energy preparing the blade using the scary sharp method, first getting the basic angle at 30 degrees and then adjusting my Veritas sharpening jig by 2 degrees to get the finished cutting angle all highly polished but it doesn't seem sharp enough, hmm maybe it the steel quality of the record blade or maybe  I got the cutting angle totally wrong for planing end grain ?.

To adjust the Veritas plane sharpening jig, select no 2  and set the width to no  2 is a 2"blade then set standard length at 30 degrees as seen in pics set lower brass roller wheel at 12: O clock,  remove the gauge and grind away till grinding angle is completed, then set lower roller to 6: O clock and proceed to set sharpened angle till completed.


Have I got the angle wrong, bear in mind it is a record T5 it's not a low angle plane, so what is the correct angle for planing end grain, what do you set your iron at to get the best results?

Marking knife

I bought an Ashley Iles right-handed marking knife several years ago from  Workshop heaven but never used it, when it arrives unpacked it, handled it and decided it was too short to use and could be deeper in its depth, put it back in the wrapper and stored it away.

Well now it time to use it as  I now have a load of dovetails to cut, my old Stanley marking knife is now getting a little short in the length of its blade I only have the one a right-hander, so time to retire it.

I decided to make a handle for it as it's just a flat piece of steel to make it comfier in the hand whilst using it between the thumb and index finger so you actually had something to hold onto.  I also decided I would like a matching pair this time around a  left-hander and right-hander to mark flush with the edges of the dovetails for more accurate cutting, so an order went off yesterday for a left-hander.

I felt by adding a handle to the exiting blade I now could extend the blade cutting length giving the whole knife more length so in my design I have allowed from the front edge of the brass ferrule 60mm of a steel blade that is usable, I have not altered the depth of the steel blade that is in front of the brass ferrule at all, nor it's thickness, the only grinding done was to the remaining 68mm  of the blade that was ground down to slide and fits snugly into the internal diameter of the brass ferrule but only for the depth of the ferrule, then it's ground down to a 5mm depth for the remaining blade length.

 I am not a professional turner, in fact, I have only resent purchase a new second-hand lathe back last year, the last turning I did was back in the seventies and then only a very little, before then when I was at school some  45 years ago, so you will see from here on is from memory or I make it up as I go.

Below a dummy run a temporary handle, for now, I decided to play around with the design for a while to see if I can improve on it whilst waiting for its left-handed partner blade to turn up. This handle is just an odd offcut from an old broom handle.

Today the left-hand blade arrived, I cut off a slice of Bali from a large chuck I bought back last year.

Here is shown the dummy run on the right-hand blade plus the new left-hand blade yet to be altered along with the first attempted handle for the left-hand blade.


Showing left-hand blade ground to allow brass ferrule to slide up to the set 60mm shoulders, setting the depth of drill to 70 mm to take the remaining 70 mm of the handle, plus turned to handle ready to have the interior tang hole drilled.


Whilst the turning was successful, when it came to fitting the blade I started to have problems as shown here with the third and fourth attempt splitting the handle when they wear very nearly driven fully home, in fact, the fourth attempt split on the very last tap of the hammer, fiddlesticks, so back to the drawing board time to redesign.


Finally as seen here in the last photo, I added extra bulk directly behind the brass ferrule plus gave the handle a little extra girth and shortened the tang inside the handle down to 40mm, success. Now I have a matching pair, I am really chuffed with them, in particular, the finished burnish, just ordinary sanding and burnished with shaving. ENJOY.


tri square refurb

An old  W J Henderson Tri Square in need of re-squaring, I do like to use this square but it was not quite accurate enough to use on accurate marking out as I need it to right now.

Luckily for me, the blade had a haunched double mortice and tenon joint simply held together with four very small dowels and very minimal glue.

Easy enough to remove the dowels with a very small size m6 bolt tapped gently till the dowel started to move outwards then repeat to the rest of dowels. Next, tighten blade in a vice and with a small offcut of wood and a mallet gently tap the handle till it slides off the blade.

 Now before reassemble make sure both edges of the blade are parallel with each other with a nice sharp jack plane or bigger if you wish to shoot one edge straight, then set up a marking gauge and mark a parallel line then shoot down to this line.

Now because the square manufacturers before had only used small dowels and very little glue is one reason why it was out of square, I decided here to add wedges to add extra strength to the joint. This meant I had to chop out to allow for the wedges to grip the sides of the original tenon, as shown here.    

I had to think of the best way of getting it all square again whilst I was glueing it together so I decided to use my old Stanley site roofing square with sash cramps as shown here just gently cramped together as the glue dries.

It wasn't till I got to this stage that I realised  I had no small dowels by then too late to glue them in, I would normally do this at this stage,  but ha ho never mind, I, ll have to make some later and glue them in and allow to dry before removing cramps and then clean it all up.


Glued and waiting to dry, I leave the dowels for now till all glue is dry and set hard.  Please don,t allow these lovely old tools to be thrown away refurbish them and keep them going.